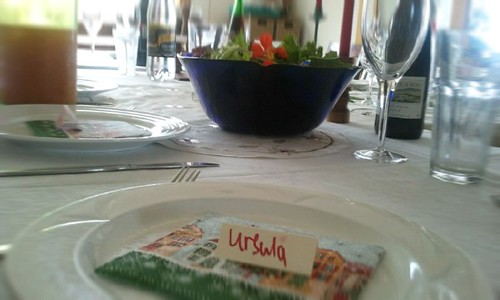
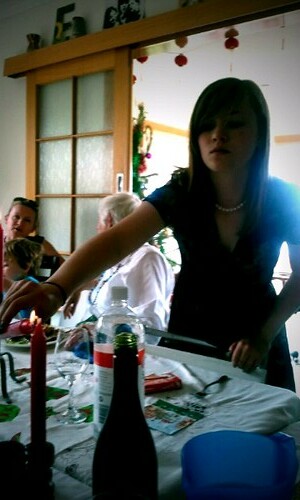
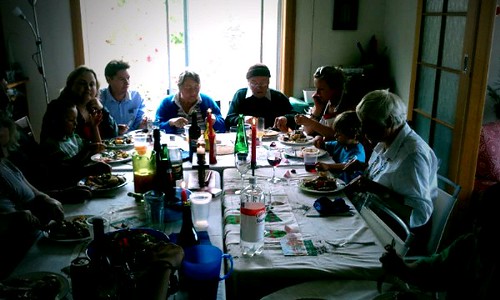
Christmas is always a good day with my family. Lots of food and presents and fun times.
I hope you had a lovely Christmas this year, and I hope your New Years is just as fun!
Happy Holidays. x.
Monday, December 27, 2010
Wednesday, December 22, 2010
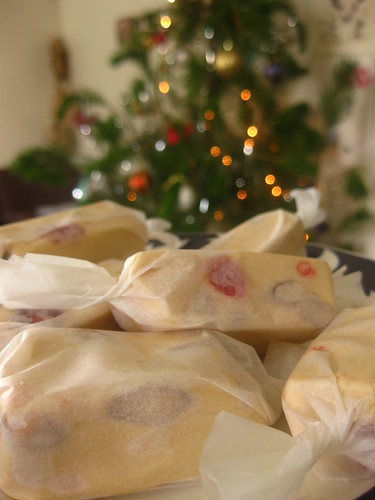
Almond Nougat.
Im not sure why I suddenly decided that nougat was a christmas treat. I don't think I've ever associated nougat with christmas before. But it seems to be a good combination.
I made this nougat to give as christmas treats, along with some relish and some caramels (soon to be posted). I'd given up on biscuits because I decided that they weren't going to last very long and no one was going to eat heaps of gingerbread on christmas day.
Making the nougat is fairly straight-forward. You boil the sugar mixture until it hits the right temperature on a candy thermometer and then beat it into some egg whites. But I guess it's a bit overwhelming using the candy thermometer.
Get over that fear! Make some nougat for your lovely family this christmas! They last a lot longer than cookies! And besides, it's fun wrapping them up individually, and you get to eat all the bits that you trim off! Almond Nougat:
From 'Sweet Food'
Makes 1kg (about 30 pieces)
500g sugar
1 cup liquid glucose/corn syrup
1/2 cup honey
2 egg whites
1 tsp vanilla essence
125g butter, softened
60g roasted almonds
100g glace cherries
Line and grease a 28 by 18cm dish.
Place sugar, glucose, honey, salt and 1/4 cup water in a large heavy-based pan and stir over low heat until sugar dissolves.
Boil until mix reaches 250F on a candy thermometer.
Meanwhile, beat the egg whites in a large bowl until hard peaks form.
Slowly pour 1/4 of the syrup into the egg whites and beat for 5 mins, or until mix holds its shape.
Place remaining syrup over heat until it reaches 290F.
Pour slowly into meringue with the beaters running. Beat until really thick.
Add the vanilla and butter and beat for a further 5 mins.
Fold in almonds and cherries with a metal spoon, try to separate them out so they're not in clumps.
Pour mix into tin and smooth the top.
Refrigerate for at least 4 hours, before cutting into pieces with a very sharp knife and wrapping in waxed paper or cellophane.
Keep refrigerated.
Wednesday, December 15, 2010
Updated: Tomato Relish.
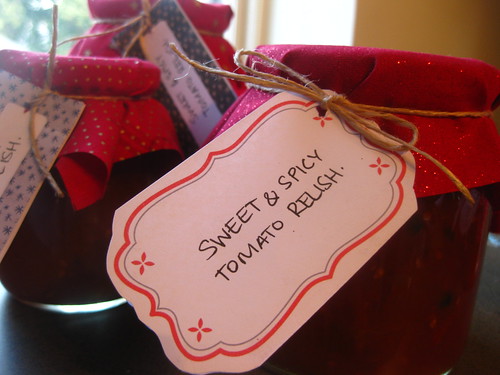
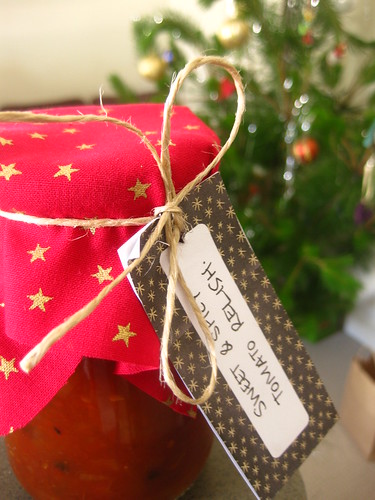
I love relish. It makes everything taste good. Before I'd even thought about what I was going to buy everyone for Christmas, I already knew that I wanted to make relish to give as gifts (along with some other things).
I wanted to make a really simple relish, because I wasn't sure if the people I was planning on giving it to would appreciate something a little different. But I like plain relish, so everything is ok!
The relish wasn't actually meant to be sweet and spicy. It was an accident. A happy accident. I was really worried when I made it because I thought it was too sweet. I almost considered not giving it away, but I couldn't stand the thought of having 13 jars of relish sitting in my cupboard (All those tomatoes cost a lot of money!!).
So I took a chance. A rare chance. And decided to give out something I wasn't completely happy with (I haven't given them out yet, but you get the idea). I had a brilliant idea: If I called the relish 'sweet & spicy', then people would think that I meant to make the relish taste like that. As if I made it like that on purpose. No one needs to know that I accidentally put too much sugar and chilli in it! What a brilliant idea!
The relish was much easier to make than I had imagined it to be. Even though it's easy, don't go thinking that it's a quick thing to make. Oh no. This is the kind of thing you want to make on a day when you've got nothing else planned and would be happy to constantly watch a pot of relish for 3 hours (lucky I've got no life!).
p.s. the cute labels come from How About Orange and Creature Comforts.
Update: I just opened my last jar of this relish (6 months later) and the flavours of the relish have had a chance to mature and get to know each other a little better. After all this time, the flavours aren't so sweet and vinegar-y. They've mellowed out and taste really good. So if you can, I'd advise leaving a few jars in your pantry for a couple of months before opening them.
Sweet & Spicy Tomato Relish.
Adapted from Stephanie Alexander's "The Cooks Companion."
Makes about 3 litres.
*If you don't like your relish to be so sweet, you could decrease the sugar amount by 100g. If we're being honest, I'd definitely decrease the sugar next time. But If you like your relish sweet, then leave it as it is! It's perfect.
2 tbsp black peppercorns
3.5kg tomatoes, roughly chopped, skins removed
1kg brown onions, diced
6 garlic cloves
1 tbsp ground ginger
1 tsp cayenne pepper
1 tsp paprika
30g rock salt
500ml red wine vinegar
600-700g white sugar*
Put all ingredients except sugar into a large (very large) pot.
Bring to the boil and boil for 1 hour. Stir occasionally.
Add the sugar and boil for another 2 hours, stirring every 20 mins or so.
Use a potato masher to break up the big chunks of tomato and onion (If you have a food mill, you could use that instead).
Transfer the relish into hot, dry, sterilised jars. Cap the jars and then turn them upside-down, this creates a vacuum in the jars (I've read this in a couple of places, and it really works!).
Leave until cool before storing (and turning up the right way).
Monday, December 13, 2010
Julia Child's Boeuf Bourguignon
There's a certain feeling in the air. Have you noticed? The music in the shops has changed. The flags up around the city are sporting a different colour that only comes out at this time of year. People have smiles on their faces, for no reason at all.
All around the place, people are rushing. They're going about their Christmassy ways, trying to buy all their santa presents before the kids finish school. I went into town today, and there were more people there than I've seen all year. There were kids wearing santa hats, posties covered in tinsel, and shop assistants everywhere asking how your christmas shopping is going.
But people seem to be too busy with their Christmas things that they've forgotten that they have interests that don't revolve around this special time of year. No other holiday changes people as much as Christmas does. No other holiday divides them. Not nearly as much. Everyone likes the chocolate at Easter. And if they don't like the chocolate, they at least like the week off work. But not Christmas. Oh no. You can't be a fence sitter with Christmas. You either like it, or you don't. There's not two ways about it, Christmas changes you. It could put a spring in your step, or a frown on your face. Personally, I'm of the former camp. But I do know people who belong to the latter.
So this food post is for those latter people who don't like Christmas and don't want anything to do with it. This food post has nothing to do with Christmas at all.
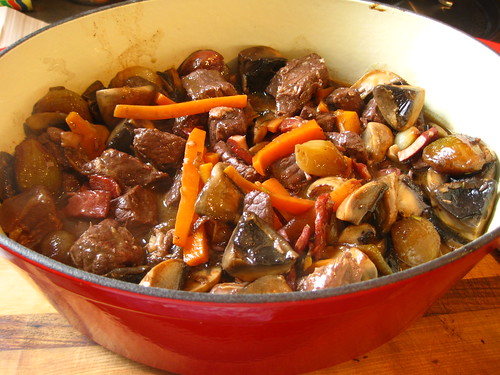
A while ago, I told you about a certain Sunday dinner we had. At the time, I had planned to post all the recipes that I made. But things happen, and you don't always end up doing the things you plan to. So here's the recipe for the boeuf bourguignon I made at that dinner party. It came from Julia Child's "Mastering the Art of French Cooking" that Kirby and Arie gave me for my birthday.
Julia Child's Boeuf a la Bourguignonne:
170g bacon slices, chopped
1 kg lean stewing beef, cut into cubes
1 carrot, sliced
1 big brown onion, sliced
2 tbsp flour
3 cups good red wine
2-3 cups beef stock
1 tbsp tomato paste
2 garlic cloves, minced
1/2 tsp thyme or oregano
20 french shallots, brown braised in stock*
500g mushrooms, sauteed in butter*
Preheat oven to 230C.
Saute bacon in olive oil in a cast iron, heavy bottom pot to brown slightly. Remove from pan.
Dry the beef in paper towels (according to Julia, the beef doesn't brown properly if it is damp).
Saute in batches in the bacon fat until brown all over. When a batch is done, add it to the bacon.
Brown the sliced vegetables in the pot, and then remove to a side dish.
Pour out the fat from the pot, and then wipe the pot clean.
Return the beef and bacon to the pot and season with salt and pepper. Sprinkle on the flour and toss to coat.
Put casserole in the oven for 5 minutes, toss the meat, and return to the oven for 5 mins more.
Remove casserole and turn down oven to 160C
Pour in the wine and enough stock so that the beef is just covered. Add the tomato paste, garlic and herbs.
Bring to a simmer on top of the stove, then cover and place in the oven.
Cook for 2 1/2 to 3 hours. The meat is done when tender.
*While the meat is cooking, prepare the onions and mushrooms.
When the meat is done, pour the liquid into a small saucepan, simmer, skimming off any fat, until you have 2 1/2 cups liquid.
Arrange the vegetables over the meat in the pot and then pour over the liquid.
Cover the casserole and simmer on the stove top for 2-3 minutes, basting the meat and vegetables with the sauce.
The dish can be served with boiled potatoes or buttered noodles or rice or whatever you like!
All around the place, people are rushing. They're going about their Christmassy ways, trying to buy all their santa presents before the kids finish school. I went into town today, and there were more people there than I've seen all year. There were kids wearing santa hats, posties covered in tinsel, and shop assistants everywhere asking how your christmas shopping is going.
But people seem to be too busy with their Christmas things that they've forgotten that they have interests that don't revolve around this special time of year. No other holiday changes people as much as Christmas does. No other holiday divides them. Not nearly as much. Everyone likes the chocolate at Easter. And if they don't like the chocolate, they at least like the week off work. But not Christmas. Oh no. You can't be a fence sitter with Christmas. You either like it, or you don't. There's not two ways about it, Christmas changes you. It could put a spring in your step, or a frown on your face. Personally, I'm of the former camp. But I do know people who belong to the latter.
So this food post is for those latter people who don't like Christmas and don't want anything to do with it. This food post has nothing to do with Christmas at all.
A while ago, I told you about a certain Sunday dinner we had. At the time, I had planned to post all the recipes that I made. But things happen, and you don't always end up doing the things you plan to. So here's the recipe for the boeuf bourguignon I made at that dinner party. It came from Julia Child's "Mastering the Art of French Cooking" that Kirby and Arie gave me for my birthday.
Boeuf bourguignon is a bit of an involved dish, but it is super tasty. You have to cook the beef in a nice bottle of red wine for 2 or 3 hours, and while that's cooking, you have to cook mushrooms and onions in an indecent amount of butter. But it's all for the best. Trust me.
Julia Child's Boeuf a la Bourguignonne:
170g bacon slices, chopped
1 kg lean stewing beef, cut into cubes
1 carrot, sliced
1 big brown onion, sliced
2 tbsp flour
3 cups good red wine
2-3 cups beef stock
1 tbsp tomato paste
2 garlic cloves, minced
1/2 tsp thyme or oregano
20 french shallots, brown braised in stock*
500g mushrooms, sauteed in butter*
Preheat oven to 230C.
Saute bacon in olive oil in a cast iron, heavy bottom pot to brown slightly. Remove from pan.
Dry the beef in paper towels (according to Julia, the beef doesn't brown properly if it is damp).
Saute in batches in the bacon fat until brown all over. When a batch is done, add it to the bacon.
Brown the sliced vegetables in the pot, and then remove to a side dish.
Pour out the fat from the pot, and then wipe the pot clean.
Return the beef and bacon to the pot and season with salt and pepper. Sprinkle on the flour and toss to coat.
Put casserole in the oven for 5 minutes, toss the meat, and return to the oven for 5 mins more.
Remove casserole and turn down oven to 160C
Pour in the wine and enough stock so that the beef is just covered. Add the tomato paste, garlic and herbs.
Bring to a simmer on top of the stove, then cover and place in the oven.
Cook for 2 1/2 to 3 hours. The meat is done when tender.
*While the meat is cooking, prepare the onions and mushrooms.
When the meat is done, pour the liquid into a small saucepan, simmer, skimming off any fat, until you have 2 1/2 cups liquid.
Arrange the vegetables over the meat in the pot and then pour over the liquid.
Cover the casserole and simmer on the stove top for 2-3 minutes, basting the meat and vegetables with the sauce.
The dish can be served with boiled potatoes or buttered noodles or rice or whatever you like!
Monday, December 6, 2010
White christmas.
I remember my Mum making white christmas when I was younger. She always used copha to bind the good stuff in the middle, and being older now, I don't remember if I liked it or not. Vegetable shortening, in my mind, is a bit like butter that sets hard, and doesn't leave a good impression in my minds version of white christmas.
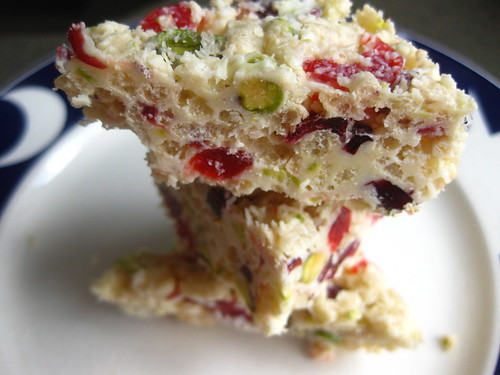
That's why I used white chocolate in this recipe instead of copha. And instead of sultanas, and red and green glace cherries, I used dried cranberries and pistachio's for a bit more of a grown up taste. I did keep the rice bubbles and a few glace cherries just to hint at traditional, though. You could probably even up the chocolate a bit, to make the chocolate to filling ratio lean a bit more towards chocolate. I'd recommend up to 50g more.
I took these into work so that I wouldn't eat them all, and after the girls worked out what was in them, really enjoyed them. I think these will please kids and adults alike, but don't take my word for it, make them for yourself and bring a little bit of white christmas into your life this holiday.
Bonus: they're really, really quick. I mean, 10 mins quick. Probably less, if you can melt your chocolate fast!
White Christmas:
The measurements for this came from "Sweet Food" but I changed most of the ingredients. So I guess we'll say it has been inspired by.
500g-550g white chocolate, broken into pieces
1 1/2 cups rice bubbles
1 cup desiccated coconut
1/3 cup red glace cherries
1/2 cup chopped pistachio kernels
1/2 cup chopped dried cranberries.
Melt the chocolate (I use the bain-marie method, but the microwave is fine).
While the chocolate is melting, mix all the other ingredients in a large bowl.
Stir in the melted chocolate and mix everything until well combined.
Pour into a foil lined 28/18cm tin and press everything firmly down. The mixture should be quite flat, rather than high.
Refrigerate until hard. Cut into rectangles or triangles.
Gingerbread biscuits
It's not far away now. That time of year when I can listen to songs like "Baby, It's cold outside" and not feel like a complete loser because it's not actually cold outside here at all.
With this time of year also comes Christmas baking. I've done a bit of Christmas baking for the last couple of years, as presents for people who I can't afford to buy proper presents for, but this year, I'm going all out.
We'll start with gingerbread biscuits, because they're the most traditional, but (hopefully) we'll move on to white christmas, salted caramels, rum balls and my favourite christmas muffins. We'll see how we go! I'm sure I can do them all, but I'm not sure if I'll get them all up before Christmas. Oh well, I'll try my best.
These biscuits are really easy to make, just cream the butter and sugar and add the remaining ingredients. I like to call this One Bowl. The best kind of biscuit. There is a bit of waiting around, though, between kneading the dough, chilling it, rolling it out, cutting out, chilling again and then baking. I added in an extra waiting around because *I like to bake one biscuit tray at a time, for even baking. I'm sure you could bake two at a time and switch the trays half way through, but I always forget and then the top tray is crispy on top but not the bottom, and the bottom tray is crispy on the bottom but not on the top.
The icing is probably the most fun part. It's really easy to make, and you can get your creativity machine running with the designs you pipe on. I was just testing my designs out for when I make them properly, so these ones were just a bit of fun.
These are different to the other ginger-type biscuits that I've posted before, because these are roll and cut biscuits, rather than scoop and flatten biscuits. The icing is the same, though, because it's the best for piping. Either would be good for Christmas presents!
Gingerbread Biscuits:
Adapted from "Sweet Food"
140g butter, softened
115g brown sugar
1/4 cup golden syrup or black treacle
1 egg
280g plain flour
1 tsp bicarb soda
1 tsp baking powder
3 tsp ground ginger
2 tsp ground cinnamon
1 scant tsp ground cloves
1 scant tsp fresh ground nutmeg
Cream butter and sugar until fluffy and light.
Beat in syrup and egg.
Fold in dry ingredients until combined.
Turn out onto a floured surface and knead until smooth.
Cover with plastic wrap and chill for at least 10 mins.
Divide dough into two, keep one half in the fridge until ready.
Roll out between two sheets of baking paper until roughly 5mm thick.
Cut into desired shapes and transfer to a lined baking tray. Put the tray into the fridge for 10-15 mins.
Preheat oven to 180C.
Bake biscuits for 10 mins, they'll be dark on the bottom and firm on top (See note above *).
Cool on a wire rack.
For the icing:
1 egg white
1/2 tsp lemon juice
150g icing sugar
Food colouring, optional.
Whisk egg white until foamy.
Mix in the lemon juice and icing sugar and stir until glossy. If mix is too thick, add a bit more lemon juice (Remember that it's easier to thin out the mixture than it is to thicken it up again, so don't add too much liquid at once).
Add food colouring, if using.
Friday, December 3, 2010
Christmas is coming, part 2.
Have we already talked about how much I like Christmas? I don't know if I always liked it (I'm sure I loved it when I was a kid, too), but it took on a different meaning when I moved out of home and I could decorate the house however I wanted, going as crazy as I liked. We haven't got a tree yet, but I'm getting into the Christmas spirit with some easy crafty things (remember the advent calender I made? It was a success, by the way).
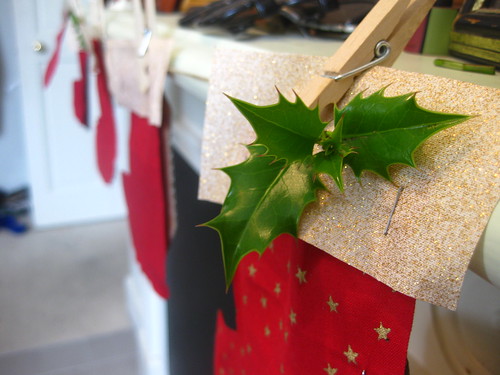
When I say easy, I mean really easy. This took me a quick half an hour before I went to work yesterday. I borrowed the fabulous idea from Creature Comforts (who makes lots of fancy diy crafts, not just for Christmas, but for all sorts of nice occasions). Her stocking garland was made out of paper, sewn onto a thick piece of coloured yarn. I decided to use material, because I had some left over from last years decorations that I made. I cut out the stocking shapes from different types of red material, and the top of the stocking from glittery white material, and then I cheated by stapling the bits together and pegging them onto some brown twine. When it finally came down to it, the material was too floppy, and didn't stay by itself, which was obvious, now that I think about it. So I cut out some cardboard shapes to match the stockings and I stapled those onto the material. Ta Da!If you're going to make something like this, and you decide to use material instead of paper, I'd recommend ironing the material first. It's no fun having to iron the individual bits, trust me. If you wanted to go all out, and own a sewing machine, sewing the pieces together would be a much better idea than stapling the pieces together, but it'll be fine otherwise. I finished the stockings off with some leaves of holly that I picked from the neighbours driveway, to make it a bit more festive. I'm not sure how long the holly will last before it starts to die, but we'll see!
Happy crafting!
p.s. I discovered this band yesterday. This song is uh-mazing.

Wednesday, December 1, 2010
Toffee apple cake.
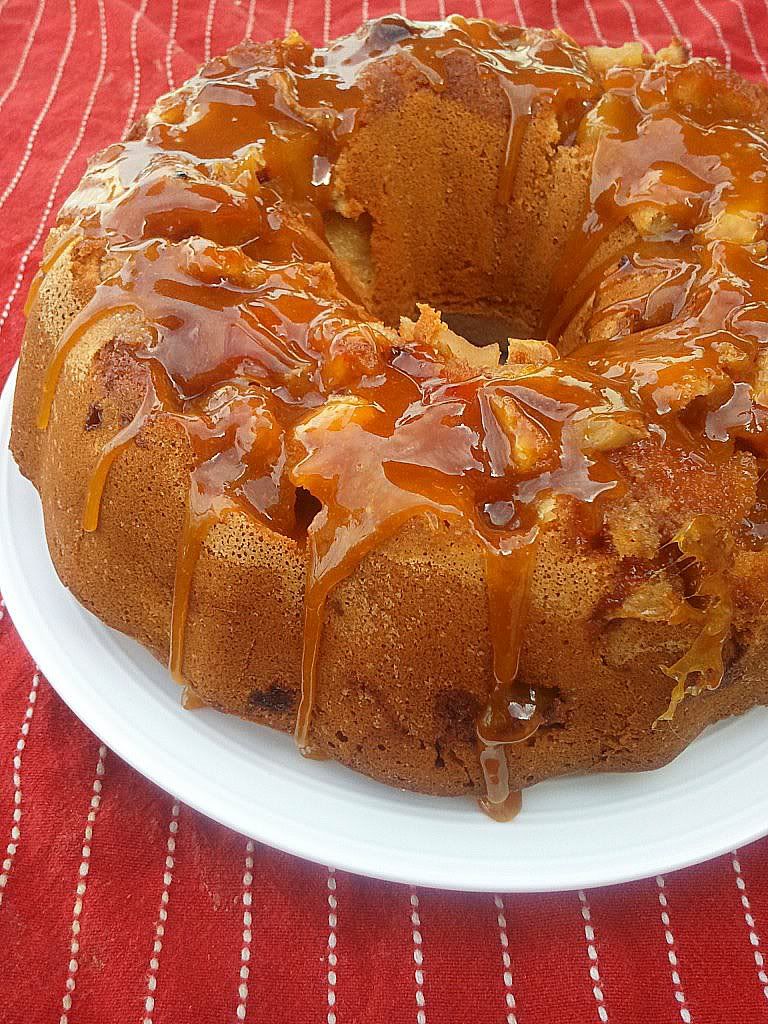
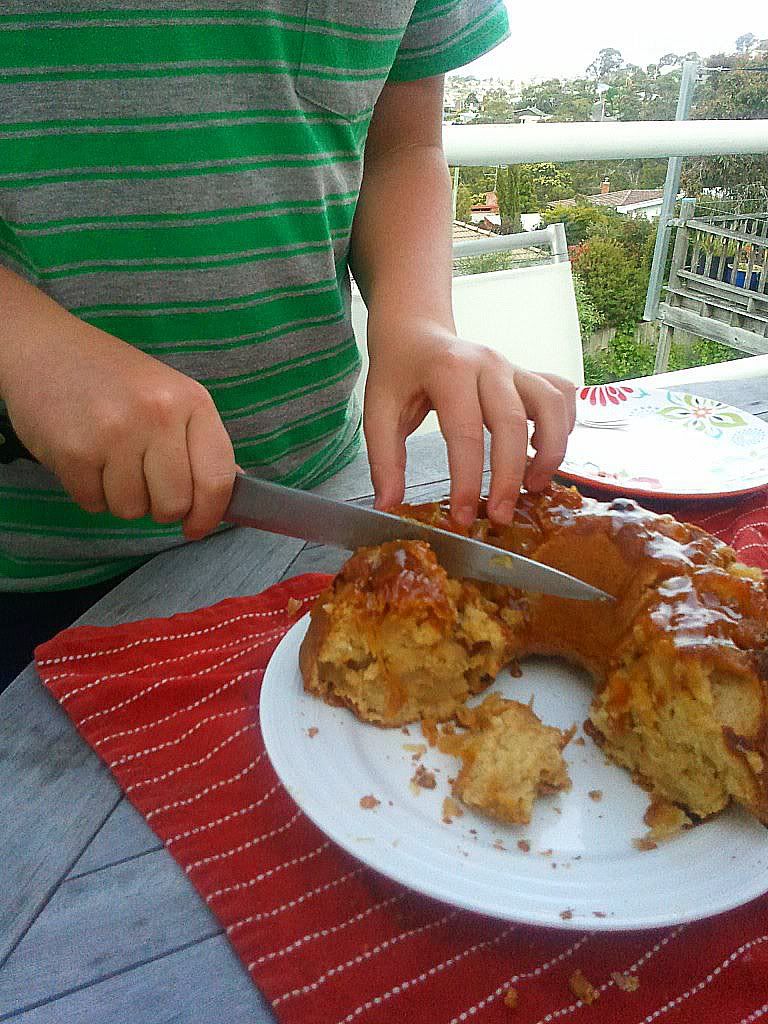
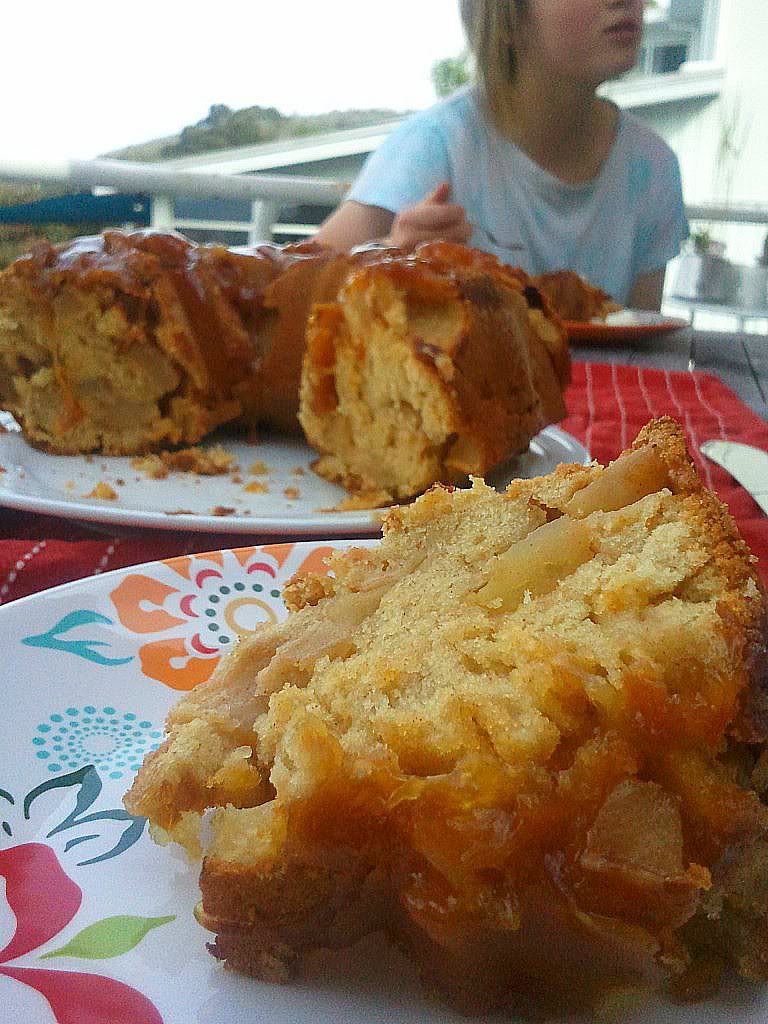
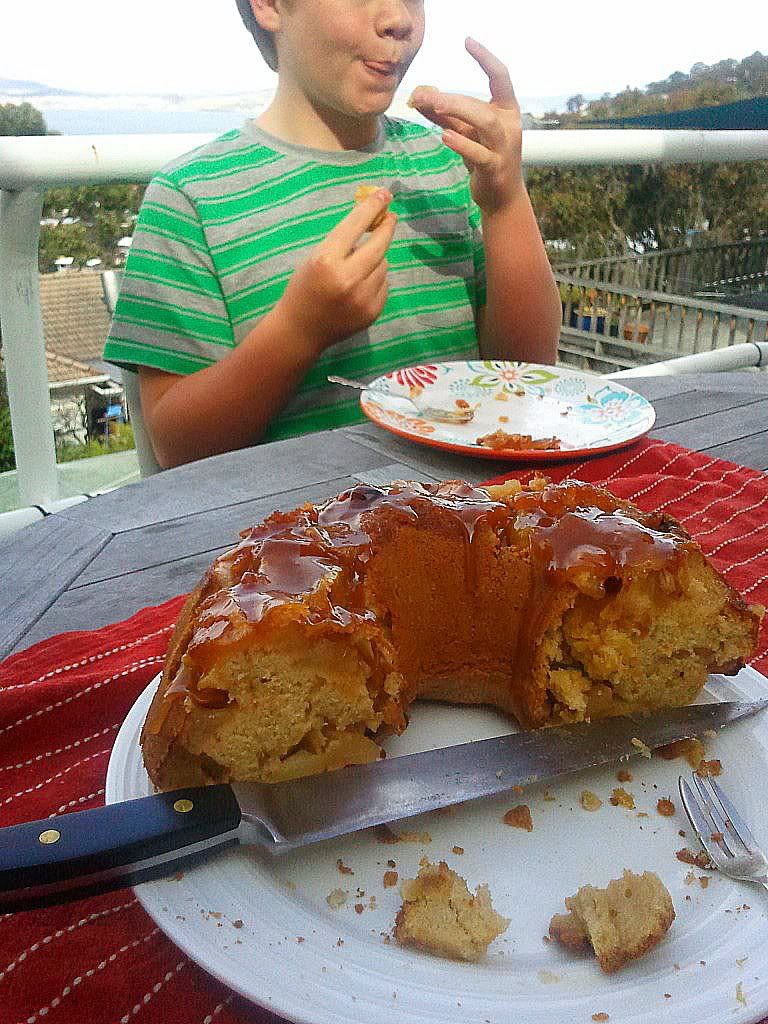
I went to my Dad's house today, because my sister was sick and wanted me to hang out with her. She likes to watch the O.C, and I like to bake things. So we did both. This cake was super easy to make. Caitlin made the batter, and I peeled the apples. The end.
But wait! There's more! This cake is more than just a regular apple cake. Soft morsels of cinnamon-y apple hiding amongst a moist cinnamon-y cake, topped with a crunchy, hard coating of sweet, buttery caramel. Goodness me was this combination delicious. We ate half the cake in one go!
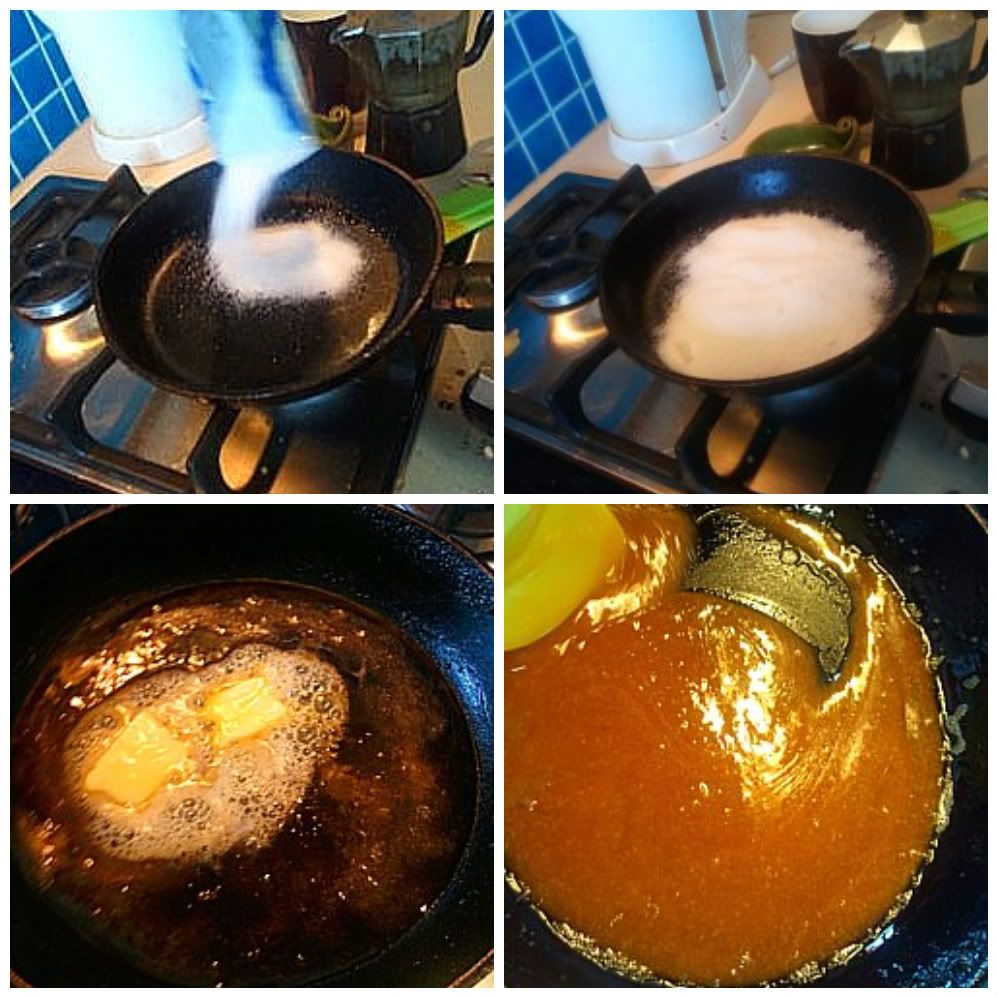
This cake is a Smitten Kitchen recipe, and I trust what she says in all her recipes, but I couldn't stop thinking about caramel after I saw David Lebovitz's post on how to make dry caramel. So we added that as well. I hadn't made dry caramel before, but it's really easy. I think I prefer it to regular caramel made with water.
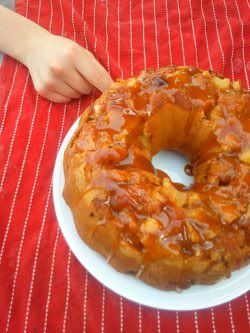
I don't have anything more to say about the cake, so here's a heap of photos. If a picture is worth a thousand words, here's six thousand words for you to look at. Hopefully they convey this delicious experience.
Toffee Apple Cake:
Slightly adapted from Smitten Kitchen
As I said above, my sister made the batter, so I'm not sure how much she deviated from the recipe (if she did at all. She follows the rules), so I'll give you the original batter recipe. But we did mix it up a bit with the caramel topping (which wasn't in the original recipe) and by changing around the order of the batter/apple layers. Also, the recipe said to bake the cake for 1 1/2 hours, but after an hour, our cake was done, so I've changed the baking time in the recipe. Like I said, only slightly adapted.
6 apples, we used golden delicious, peeled, cored and diced
1 tbsp cinnamon
5 tbsp sugar
2 3/4 cups flour, sifted
1 tbsp baking powder
1 tsp salt
1 cup vegetable oil
2 cups sugar
1 tbsp cinnamon
1/4 cup orange juice
2 1/2 tsps vanilla
4 eggs
Preheat oven to 180C. Grease a bundt tin.
Toss the apples with the cinnamon and sugar, set aside.
In a large bowl, mix flour, baking powder and salt.
In a separate bowl, mix oil, orange juice, sugar and vanilla.
Mix wet ingredients into the flour mix.
Add eggs, one at a time.
Arrange half the apples on the bottom of the tin.
Pour half the batter onto the apples. Arrange the remaining apples and then pour the rest of the batter on top.
Bake for about 1 hour, or until a tester comes out clean.
Turn the cake out onto a large plate and pour over the caramel topping.
For the Caramel Topping:
With help from David Lebovitz
Pour 1 cup caster sugar into a heavy based pan. Place over medium heat. Don't stir it, but just watch it until it starts to liquify around the edges. When this happens, start to drag the liquid bits into the middle of the pan, but try not to stir it too much, otherwise it can crystallise.
The sugar will start to caramelise at this point, so keep watching it until all the sugar is dissolved and the caramel is bronze coloured. Try not to burn it, as burnt caramel cannot be fixed. If you're using a black pan, lift some of the caramel out of the pan to check what colour it is. Once all the sugar has liquified, and is bronzey coloured, it's ready!
If you prefer a buttery caramel (I sure do), add a tablespoon of butter and stir it in. It will bubble up as the butter melts, but keep stirring it in until incorporated.
It hardens fairly quickly, so only make the caramel when you're ready to pour it over the cake.
Subscribe to:
Comments (Atom)


