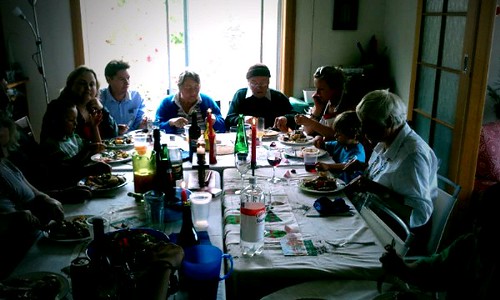
Family is amazing, right?
I've got some amazing family, who are all very lovely and creative and inspiring.
I've got one sister who is particularly special. She is super lovely and super creative and she inspires me always.
She's just opened her own online shop selling her beautiful handmade collages! She cuts the images out of vintage magazines (and only makes a little bit of mess), and she puts them all together to make these wonderful images.
They're mostly all based on the sea, because she loves marine life (she's even got her scuba diving licence!). And did I mention she's only 17! Wowee.
You can see more of her prints at her Society 6 page. Go check them out!
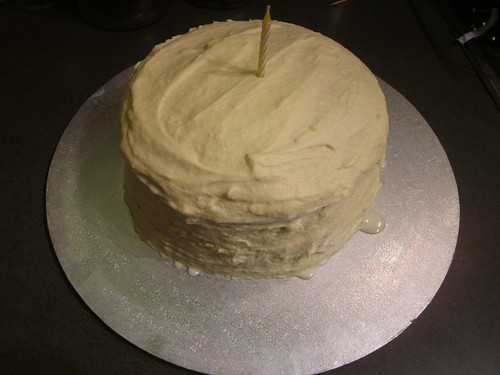
My sister had an impromptu picnic for her birthday earlier this year. So I made her an impromptu lemon cake that was picnic appropriate. I guess all cakes are picnic appropriate, but adding some paper flags to this bright yellow cake made it seem a bit more festive.
Somehow I've turned into the birthday-cake baker in the family. But every cake I've made this year is nothing compared to the rainbow cake from last year. I'm going to have to make something amazing to beat that! One day, one day...
P.S. My sister's Happy Whale collage is going to be on Avant Cards. Keep a look out for it!
This song is by First Aid Kit, a Swedish band, and is so dreamy and nice!
For the dough:
1 cup milk
3 tbs unsalted butter
3 1/2 cups plain flour
1/2 cup white sugar
1 egg
7g packet dry, instant yeast
1 tsp salt
Place the milk and butter into a small saucepan and heat over medium heat until butter has melted and milk is warm.
Pour into a big mixing bowl and add 1 cup of the flour, sugar, egg, yeast and salt.
Beat on low speed for 3 minutes.
Add the remaining flour and beat until incorporated and the dough is sticky (You might have to do this with a wooden spoon, rather than a hand mixer). The dough should be sticky, but not too sticky.
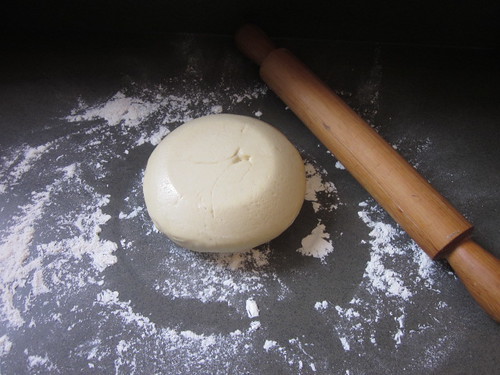
Tip the dough out onto a lightly floured work surface to knead.
If you find that the dough is sticking to your hands, sprinkle the dough with flour and keep kneading until the dough is smooth and almost elastic, about 8 minutes.
Form the dough into a nice ball and place into a large, lightly oiled bowl.
Cover with cling wrap and a clean tea towel and place in a warm, draught-free place until the dough has doubled in size, about 2 hours.
For the cinnamon filling:
3/4 cup (packed) brown sugar
2 tbs ground cinnamon
1/4 cup unsalted butter, melted
Pinch of salt
3/4 cup sultanas
While the dough is rising, mix the brown sugar, cinnamon and salt together in a small bowl and set aside.
Tip the risen dough out onto a lightly floured work surface.
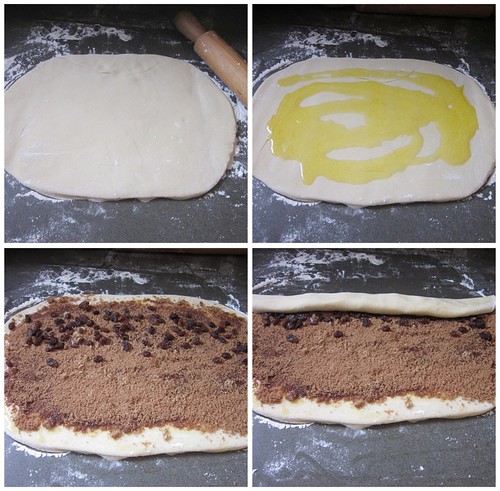
Roll the dough out to a 15by11 inch rectangle.
Pour the melted butter over the dough and sprinkle with cinnamon sugar and sultanas.
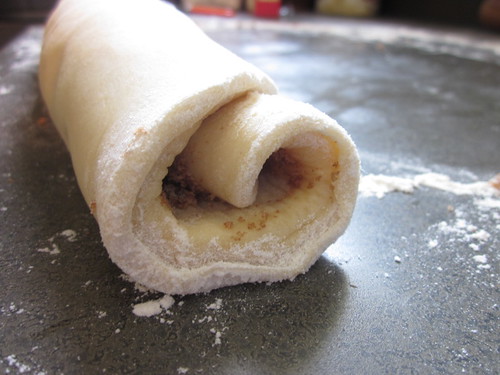
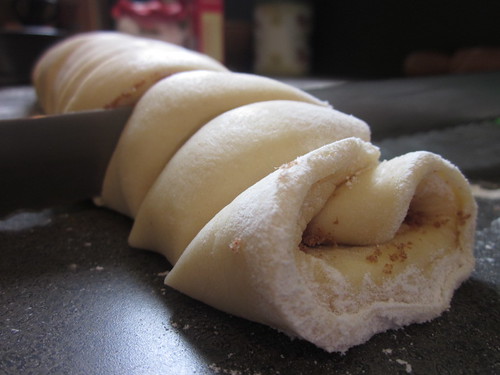
Starting at the long side, roll the dough up towards you into a tight log.
Seam side down, slice the cinnamon log into 18-20 small slices.
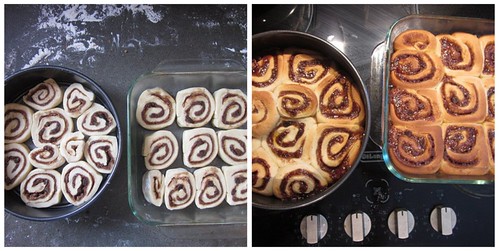
Place the slices into 2 greased tins (I found that a 20cm springform tin was easier to get out, but a square tin is fine too), cut side up.
Cover each tin with cling wrap and a clean tea-towel and place in a warm, draught-free spot to rise for 40-45 mins.
Pre-heat oven to 190C, and stick the trays in the oven.
Bake the rolls for 20 mins, until the tops are golden.
Take the trays from the oven and flip the buns out onto a wire rack to cool.
Glaze buns when cool.
For the orange glaze (optional):
1 1/2 cups icing sugar
juice and zest of half an orange
Mix all ingredients together until smooth. If the icing is a bit thick, add more juice until it's runny enough to pour onto the buns.
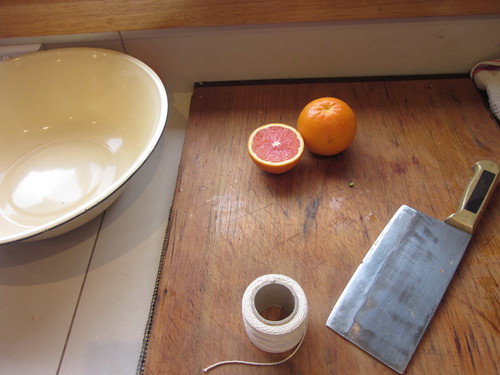
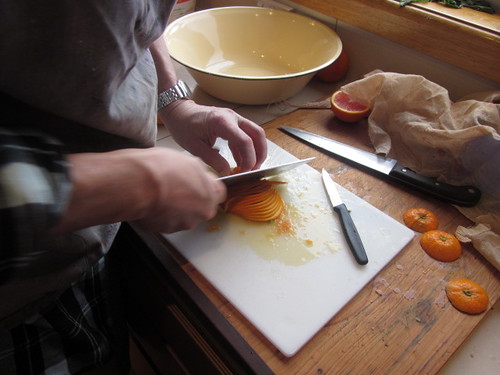
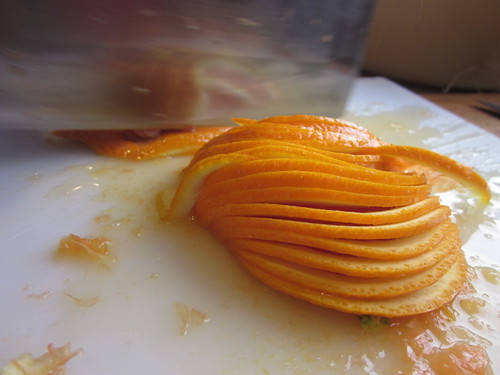
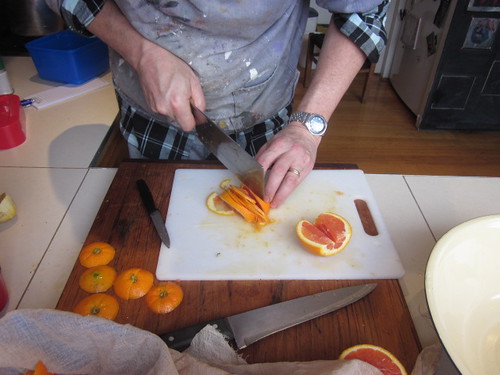
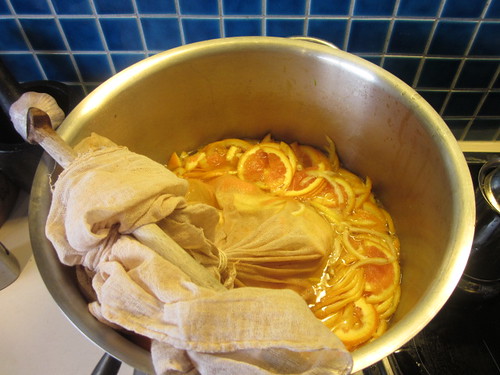
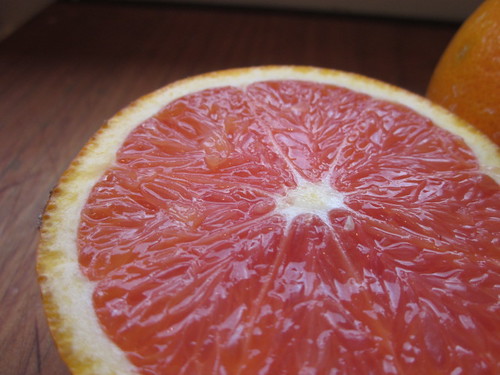
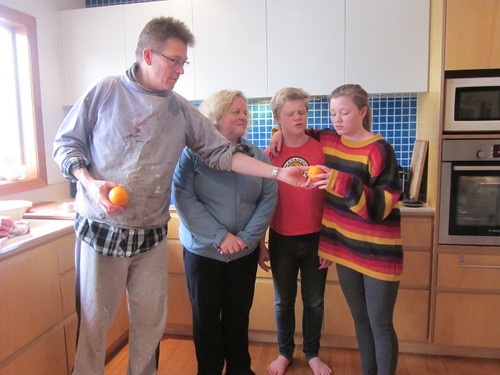
Dad cut up lots of seville and ruby navel oranges, and I took lots of photos and drank coffee.
I love this photo. They're all standing, waiting patiently to have their photo taken, but Dad decided that everyone should hold an orange, to emphasis the whole point of the afternoon. Caitlin and Arki look so skeptical, the way teenagers do.
When I'm waiting for the kettle to boil in the morning, when I'm walking home from work, when I'm doing the shopping, when I'm making coffee for customers, before I fall asleep... I can't stop thinking.
Sometimes I think about what I'm going to write in my assignment, or what to have for dinner, or what I should get my step mum for her birthday. But sometimes I think about what I'm going to write about here. I plan it out in my head, try to come up with something funny to say (which doesn't usually happen), and think of things other than uni to talk about.
But even if I've come up with a great story to write about, I haven't cooked anything to go with it. This is where the problems start. Because I can't stop thinking, the stories that I come up with get pushed out of my brain by new, more exciting stories to write about. And then these ones get pushed out of the line by some other, even more interesting story to tell.
And then, all of a sudden, I've forgotten all my stories. I end up with nothing to say. This usually happens just as I've cooked something nice. Something so nice and new and delicious that I've got to share it. But the worst thing is, that I really want to write something. Anything.
For the last week, I've been thinking about what I could write about. But then all the stories got pushed out of my brain by the end of semester, because I had to fill it up with boring references about lesson plans.
But the good thing is, I haven't even cooked anything that I haven't cooked before, so I've got no food ideas to share with you. What I do have, though, is some pictures of Brent and I at the snow on the weekend, and a really nice song by a band called The Chemist.
My Mum has taught me lots of things. The right way to hang your clothes on the line so that you don't have to iron anything, the proper way to do the washing up (glasses first, pots and pans last), how to wrap presents so they look pretty, how to look after my cat, how to get stains out of your clothes, how to sew the hem on your skirt. Useful things.
But one of the most important thing she taught me, was how to cook. She started teaching me when I was little so that now I feel like these cooking tips are basic things that everyone learnt, even if they're not.
Things like, how to tell if a cake is ready without sticking a tester in it, how to make bolognaise sauce, how to chop onions, how to get the skin off a garlic clove. Again, useful things (She's a handy type).
Don't get me wrong, my Dad has taught me lots of things too (how to flip pancakes, how to make a good omelette, how to make mayonnaise). But this isn't a blog post about Dads. It's a post about Mums. Because it's Mothers Day today. My Mum lives in a different state, so I don't get to see her very often. And although I rang her this morning, I thought it would be nice to tell her how much I love her.
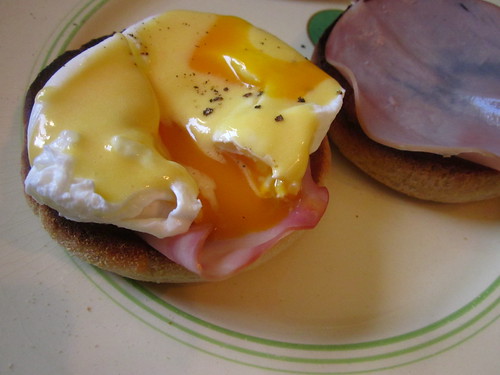
There is one thing that Mum taught me to make really well. And I make this at least once a month, if not more. Usually on a Sunday, when Brent requests Eggs Benedict for breakfast. Actually, the first time I made this by myself, was when Brent and I started going out and I was trying to impress him. It must have worked because it's one of the only things that he actually asks me to make.
[Notice the burnt toast in the picture above? I can make hollandaise but I can't make toast.]
Mastering hollandaise sauce is a pretty useful skill. It doesn't just have to go on eggs, either. Think steamed asparagus and pan-fried salmon fillets. And it is really easy to scale up or down, depending on how many people you're feeding.
In my recipe book, the recipe for hollandaise goes a bit like this:
1 egg yolk, butter, lemon juice. Don't scramble the eggs. Serves two.
But that isn't very helpful to you, really. So I thought I'd write it up a bit better, so that you can impress your beloved, or make your Mum a nice breakfast.
Hollandaise Sauce. Serves two
1 egg yolk
50-70g butter, chopped
1-2 tsp lemon juice, or to taste
salt and pepper, to taste
Set a small pan on the stove with 3/4 cup water. Bring to a simmer.
Put the egg yolk into a medium bowl and set the bowl over the pan. Make sure the bowl isn't touching the water. This is really important.
Whisk the egg yolk, and put one cube of butter in. Keep whisking until the butter is incorporated.
Add another cube of butter and keep whisking. When it is nearly all incorporated, add another butter.
When you've added a few cubes of butter, you can start putting in more than one cube at once.
Keep doing this until all the sauce starts to thicken and is a nice pale colour.
Make sure that the eggs don't start to scramble. If they look like they are beginning to scramble, quickly take the bowl off the water and whisk it like crazy. If they look really bad, or you're a bit nervous, you could plunge the bowl into some cold water to stop the cooking process.
When the sauce is thick and all the butter is mixed in, whisk in the lemon juice and some salt and pepper to taste. Serve warm.
If the sauce cools down too much, just set the bowl over the simmering pan of water again, and whisk until it heats through.
This amount of sauce is enough for two poached eggs.
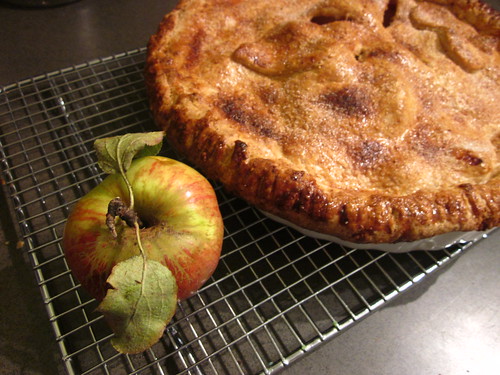
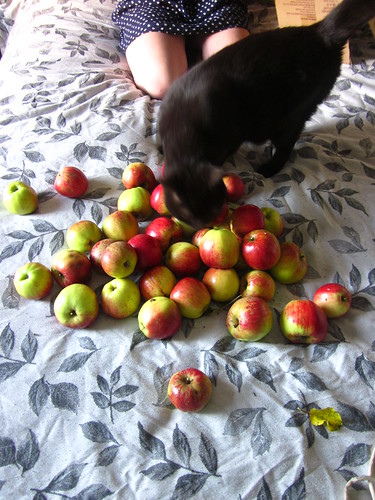
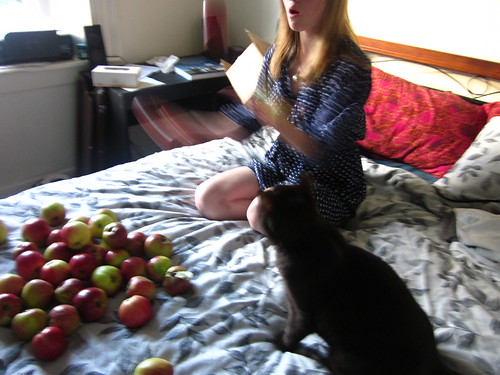
My dad has a big apple tree growing in his back yard. No-body knows what kind of apples they are, but we do know that they are good for cooking.
You know what else is good for cooking? Pie is good for cooking.
When dad gave me this huge bag of apples, the first thing I thought of was pie. But the weird thing was, I didn't really know how to make the pie. I think that making pie is one of those things that people should just know how to make. But I didn't. I had to look up a recipe. I mean, I know how to make pastry, I just didn't know what to put inside the pastry. Other than apples, obviously.
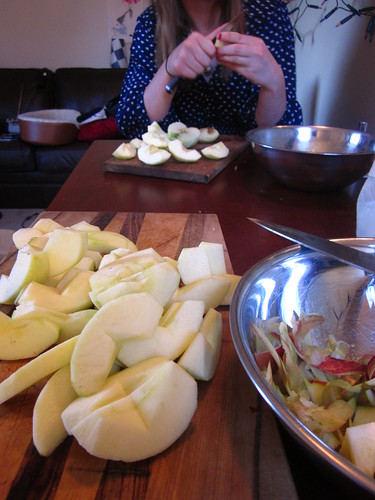
But I found a recipe in the end. And I used a whole block of butter. And then my sister dropped over unannounced and she helped me peel all the apples. And then we juggled the apples, because we remembered that once upon a time, we knew how to do it. And then we ate lots of the peeled apples with some sharp cheddar cheese, because that is a really good combination. And we drank some tea and we had a really nice time.
One serving of pastry from this recipe (also from Smitten Kitchen)
7 medium cooking apples
1 tablespoon orange juice
1/2 cup white sugar
2 tbsp flour
1/4 tsp salt
1 tsp cinnamon
1/4 tsp ground nutmeg
1/4 tsp ground ginger
1/4 tsp ground cloves
1 egg, beaten lightly (for glazing the pie lid)
Preheat the oven to 250C and make sure the oven rack is on the bottom shelf. This is important for a crispy pie base.
Peel, core and chop the apples (it's helpful if you have a sister or other nice sibling to help you do this).
Put them in a bowl and toss them with the juice and the dry ingredients. Set these aside.
Line the pie tin with half of the chilled, rolled out pastry, making sure there is enough overlapping the dish. Chill for 5 mins in the fridge.
Arrange the apples on the pastry case, piling them up in the middle.
Lay the other half of the rolled out pastry on top of the apples, making sure there is enough pastry overlapping the dish.
Fold the bottom layer of pastry over the top of the pie, like a blanket. This way, the pastry won't shrink and the apple juices won't escape.
Crimp and arrange the pastry so it sticks onto itself and looks nice. You could use the edge of a fork to make the crimps.
Cut four slits in the top of the pie.
Brush the pie with the egg.
Sprinkle the top of the pie with some granulated sugar.
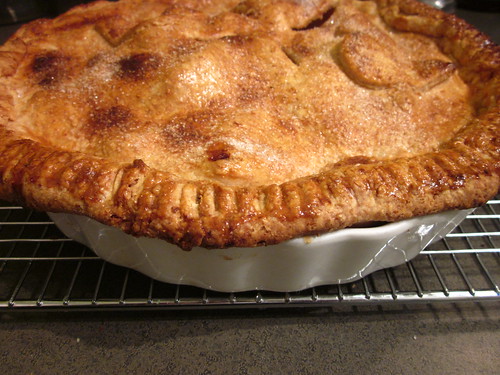
Put the pie in the oven and immediately turn the oven down to 220C. Bake for 25 mins until crust is golden.
Turn the oven down again to 190C, rotate the pie and continue to bake for another 30-35 mins.
Let the pie cool before cutting and serving to your nice family.
Every Good Friday morning, my dad gets up and makes bread. Not just any old bread, though. Hot cross buns. Made from a special recipe that comes from a really old book that is falling apart at the seams. He's had to change and adapt this recipe over the years: change the measurements into metric, rather than gils and pints, change the yeast content from fresh to (more convenient) dried.
He's been making this recipe for as long as I can remember. I haven't attempted to make this myself yet, because it's Good Friday and nothing is open and I forgot to buy the ingredients yesterday.
But you can trust me that this recipe is good. It must be good if Dad has been making it for so long.
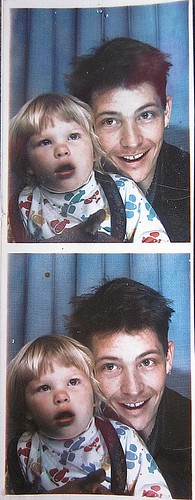
I'm going to try and make these on Sunday, even though that's not really the right day to be making them. And I'll post some pictures so you can see how great the buns really are. But for now, here's a picture of me and my dad together.
My Dad's Hot Cross Buns Recipe.
2x 7g Pack Dried Yeast
1 ½ Cups (400 ml) warm milk ( temperature of your finger )
2 tbs caster Sugar
50g Butter
500g white Bread Flour
1/3 Cup (50 g) Mixed Peel
2/3 Cup (100 g) Currants
1tsp Mixed Spice
½ cup warm Milk, 1 egg and tsp. caster sugar, mixed
PASTRY crosses
75 g plain Flour
2 tsps Caster Sugar
30 g Butter
Dissolve the yeast and sugar into the milk and let it froth
Rub The butter into Flour, add the currants peel ,spice. Make a well in the flour pour in the warm milk mix. Mix to a smooth dough, it will be sticky so use plenty of flour to work it. Let rise in the bowl covered in plastic wrap for 1 1/2 hours. Turn out onto a board, cut up into 15 portions. Roll them into balls, aiming for a good smooth skin on the top side of each bun. Place on baking tray leaving enough room for the buns to double in size. Leave for 45 mins – 1 hour to rise.
Preheat the oven to 200*C
Make the pastry Crosses by combining flour and sugar, then rubbing in butter. Mix in a few tsps. of cold water to make a firmish dough. Roll out thin and cut into skinny strips.
Brush the tops of the buns with a little water and cross the strips on top.
This step can be omitted and just a cut made in the top of the buns.
Cook about 15 -20 mins till brown. Just before they’re done brush all with the milk egg sugar mix (cook 1 or 2 more minutes)
For the simple things. The long days. The excitement of home-time. Playing kiss and catch in the playground. All the adventures that my Barbie dolls would have. Playing dress-ups. Getting home from school in time to watch all my favourite shows. Those were the days. Everything was simple. When you're little, you can't wait to grow up. You think it'll be the best thing in the world to be able to do whatever you want, whenever you want and not having parents tell you that you what to do.
Don't get me wrong, being an adult has it's perks. I can stay up as late as I want. Eat whatever I want. Watch whatever I want. But nothing is simple as an adult. People still tell you what to do. And you have to pay all your bills and stress about your assignments and you have to work all the time. I just want everything to be simple again.
Just for one day, I want my mum to tuck me in to bed and read to me. Just like when I was little. I want to feel like I don't have a care in the world and all I have to worry about is what game I'm going to play at lunch time. I want to spend all day reading and playing and colouring outside of the lines.
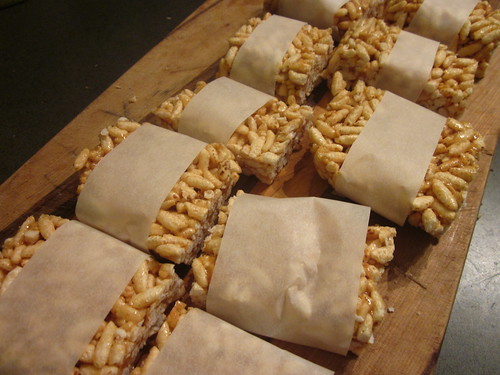
Eating these rice snacks makes me feel a bit like a kid. They're like the adult version of a childhood favourite. When I get home from work, I can eat one with my afternoon cup of tea and not have to think about anything. I probably won't watch cartoons, but I can do all the things that my adult-self likes to do: Go on twitter and read a whole lot of blogs. And I can put off all the things I need to do for just that little bit longer.
Rice snacks.
Adapted from Vanilla & Lace 1/4-1/3 cup honey
1/3 cup peanut butter
1 tsp vanilla
3 cups organic puffed rice (or other rice cereal)
Heat honey and peanut butter over medium heat until it thickens slightly, about 2 minutes. (You could probably do this in the microwave, if you wanted)
Add vanilla.
Pour the honey mix over the puffed rice in a large bowl. It looks as if there isn't enough honey mixture to coat all the rice, but just keep mixing until it's all coated evenly. Press into oiled 20cm square dish.
Refrigerate for 1 hour, then turn out and cut into squares. Keep refrigerated.
Here is a list of things I like:
Birthdays
Siblings
Family dinners
Rain
Cake
Suprises
Well, tonight had all of these things. And more.
Tonight was my little sisters 16th birthday. That's a pretty important age. I remember when I turned 16, but that's another story for another day. Because this story is all about cake, and sisters who like cake.
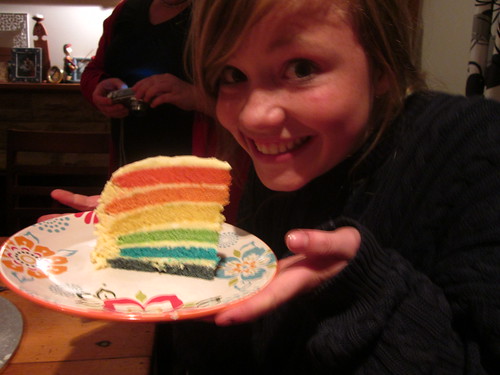
That's my sister there. And that is a slice of the cake. Gotcha! I bet you weren't expecting that!
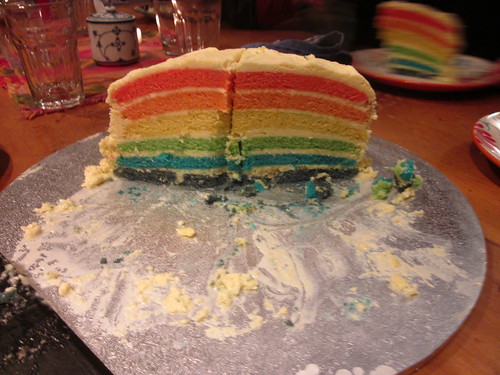
This cake was pretty epic. It took me a week of planning and two days of mixing and baking, but I got there in the end. And I think it was totally worth it. Don't you? If you've got an important sister or friend in your life, and they have an important birthday coming up, why don't you surprise them with a rainbow cake? It will brighten up their rainy birthday and everyone will think you're amazing, that much I promise you.
As I said, this was pretty time consuming. Mainly because I only had one cake tin and I had to bake each layer individually. I wouldn't call this an everyday cake, not by any means. But if you've got a special occasion, it's probably worth it. The icing was a bit much though. I had about a cup of icing left over, and I originally was going to keep it for cupcakes, but I threw it out because I didn't ever want to look at it again. The icing was a lot of effort for something that I didn't think was particularly good. For starters, I don't really like white chocolate, it doesn't do anything for me. And for seconders, it had too many things in it, making it expensive and not really worth it for what you get. If I made this again, I think I would make a cream cheese icing, or something a bit more tasty. But if you really like white chocolate - I mean, if you're really all about it - then it's probably worth it. The icing does set hard though, which is really good if you have to run from the car to the house in the rain and you don't want your icing getting all messed up.
Also, the original recipe called for gel colours, but I couldn't find these, so I just used regular food dye and it worked fine. The icing originally called for nearly a kilo of butter, but I ended up using about 200g less, because I didn't think it needed it and I was right. The icing also called for 'sugar'. It took me a while to decide what type of sugar she meant: icing, white, castor; but I went with plain white sugar and it worked fine.
For Cake:
2 1/4 cups cake flour
1 cup whole milk
6 egg whites, at room temperature
2 tsps almond extract
1 tsp vanilla extract
1 3/4 cups white sugar
4 tsps baking powder
1 tsp table salt
170g unsalted butter, softened
food dye.
Preheat oven to 180C. Grease and line a 20cm (or smaller) springform cake pan.
Pour milk, egg whites, and extracts into a bowl and mix. Mix flour, sugar, baking powder, and salt in a large bowl and beat at high speed. Add butter. Beat at slow speed until mixture resembles crumbs. Add all but 1/2 cup of milk mixture to crumbs and beat at high speed for 1 1/2 minutes. Add remaining milk mixture and beat 30 seconds more. Stop mixer and scrape sides of bowl. Return mixer to high speed and beat 20 seconds longer.
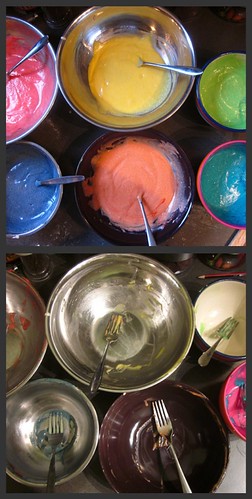
Divide batter between six bowls. Add enough food dye to each bowl, whisking until you get the right shade. Pour one colour batter into the cake pan. Transfer to oven and bake until cake tester comes out clean, about 9-10 minutes. Let cakes rest in pans for 3 minutes. Invert onto wire rack. Repeat with remaining colours.
Allow each layer to cool completely.
For icing:
2 1/2 cups white sugar
10 egg whites
700g unsalted butter, chopped, softened
2 tsps vanilla extract
500g white chocolate, melted and cooled
Put sugar and egg whites in a large heatproof bowl over a pan of simmering water. Whisk constantly until sugar is dissolved and mixture registers 140F on an instant-read thermometer.
Take off heat. Beat on medium-high speed until fluffy and cooled, about 10 minutes. Continue beating until stiff peaks form. Reduce speed to medium-low; add butter by the spoonful, beating well after each addition. Add vanilla and white chocolate.
To assemble cake:
Place four strips of baking paper around outside of a cake plate. Place the purple layer on the plate. Scoop filling over the first layer and spread with a spatula so it extends just beyond edges. Repeat process with blue, green, yellow, and orange layers.
Place the remaining red layer on top, bottom-side up. Using a spatula, cover the top and sides with a layer of icing so that the colours cannot be seen. Gently pull out the layers of baking paper. Refrigerate until set, about 30 minutes.
Christmas is always a good day with my family. Lots of food and presents and fun times.
I hope you had a lovely Christmas this year, and I hope your New Years is just as fun!
Happy Holidays. x.